

Using Applications in the Discovery Environment
When you are ready to analyze data, you can select from one of several hundred applications in the Discovery Environment. In this tutorial, we will cover the minimum information you need to launch an analysis using sample data. In this example, we will use the Muscle multiple sequence aligner app, to align some DNA sequences.
Browsing Apps in the Discovery Environment
To view a listing of existing applications, visit the DE Apps view,
which can be accessed by clicking ![]() in the navigation
bar on the left side of the DE.
in the navigation
bar on the left side of the DE.
When you first access the Apps view, you may be prompted to log in. After logging in, you will see a screen that looks something like this:

Sorting and Filtering Applications
Click on the column headings to sort the app list in ascending or descending order by app name, the name of the person who integrated the app, or average rating. You can also use the controls at the bottom of the Apps view to choose how many apps to list on a single page and to navigate between pages.
Because the DE contains hundreds of apps, it can be helpful to reduce the number of apps that are displayed. The bar just above the app listing provides two ways to do that. First, the upper left corner of the Apps view contains the currently active subset of apps to be included in the listing. By default, the Apps view displays all apps that are available to you. By clicking the arrow next to the currently active subset, you can select a different subset of apps to display:

The currently selected app subset is highlighted in gray. The app subsets that are available are:
| Application type | Description |
|---|---|
| Apps under development | Apps that you have added to the DE that have not been made public. |
| Favorite Apps | Apps that you have marked as favorite apps in the DE. |
| My public apps | Apps that you have added to the DE that have been made publicly available. |
| Shared with me | Apps that other users have shared with you. |
| High-Performance Computing | Apps that run at the Texas Advanced Computing Center using the TAPIS API. |
| Browse All Apps | All apps available to you within the DE. |
The second way to reduce the display of the apps list is to select a filter in the upper right corner of the Apps view. By clicking anywhere on the Filter control, you can select which type of apps you’d like to see in the listing:
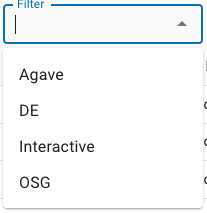
The currently selected filter is displayed in the Filter control itself. If no filter is selected, the control will be empty. The currently available app filters are:
| Application filter | Description |
|---|---|
| Agave | Apps that run at the Texas Advanced Computing Center using the TAPIS API (formerly known as Agave). Choosing this filter is essentially equivalent to selecting the High-Performance Computing app subset. |
| DE | Executable (non-interactive apps) that run on CyVerse computing resources. |
| Interactive | Interactive apps (e.g., Jupyter, RStudio, R Shiny) and other apps with their own interactive interfaces. |
| OSG | Executable (non-interactive apps) that run on Open Science Grid (OSG) resources. |
Once you’ve selected an app filter, it will be displayed in the Filter control:
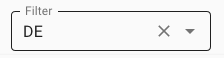
The selected filter will stay in place until you select a new filter or dismiss the current filter by clicking the X just to the right of the filter name. Note that the X is only present when the mouse cursor is hovering over the Filter control.
Viewing App Details in the Discovery Environment
Once you’ve found an app of interest, select it by clicking the checkbox in the row containing the app name. If exactly one app is selected, a Details button will appear in the upper right corner of the Apps view, just to the right of the Filter control.

Clicking the Details button produces a slide-out panel containing additional information about the app (e.g., description, number of times run, etc.).
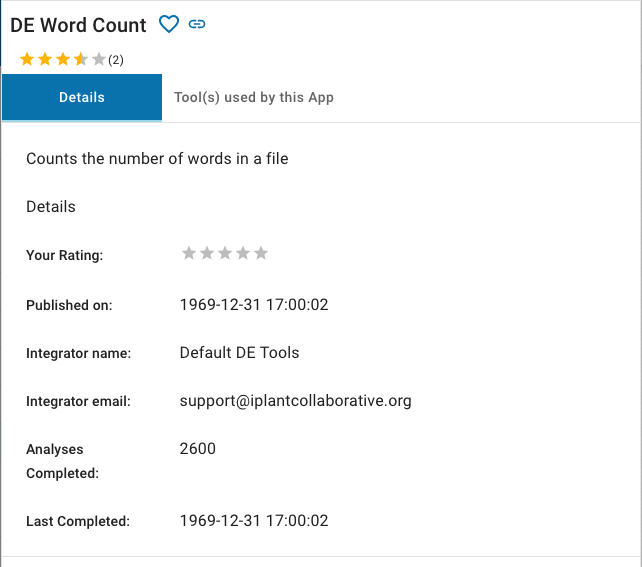
This screen has several controls available. The Heart icon just to the right of the app name allows you to add the app to or remove it from your list of favorite apps. The heart will appear solid if the app is currently in your list of favorites. Clicking the Link icon will display a link to the app that you can copy and share with other DE users. The Stars icon labeled, Your rating, allow you to give the app a rating. The Tools used by this App tab contains information about the steps that the app takes to perform an analysis. You can dismiss the App Details view by clicking anywhere outside the panel.
Tip
Favorite your frequently used applications to make them easier to find.
Sharing Applications with Another CyVerse User
If necessary, log in to the Discovery Environment.
Open the Apps view by clicking on

Select the app(s) you wish to share with another user; then click the Share button.
In the Sharing dialog that opens, ensure that the apps you wish to share are shown.
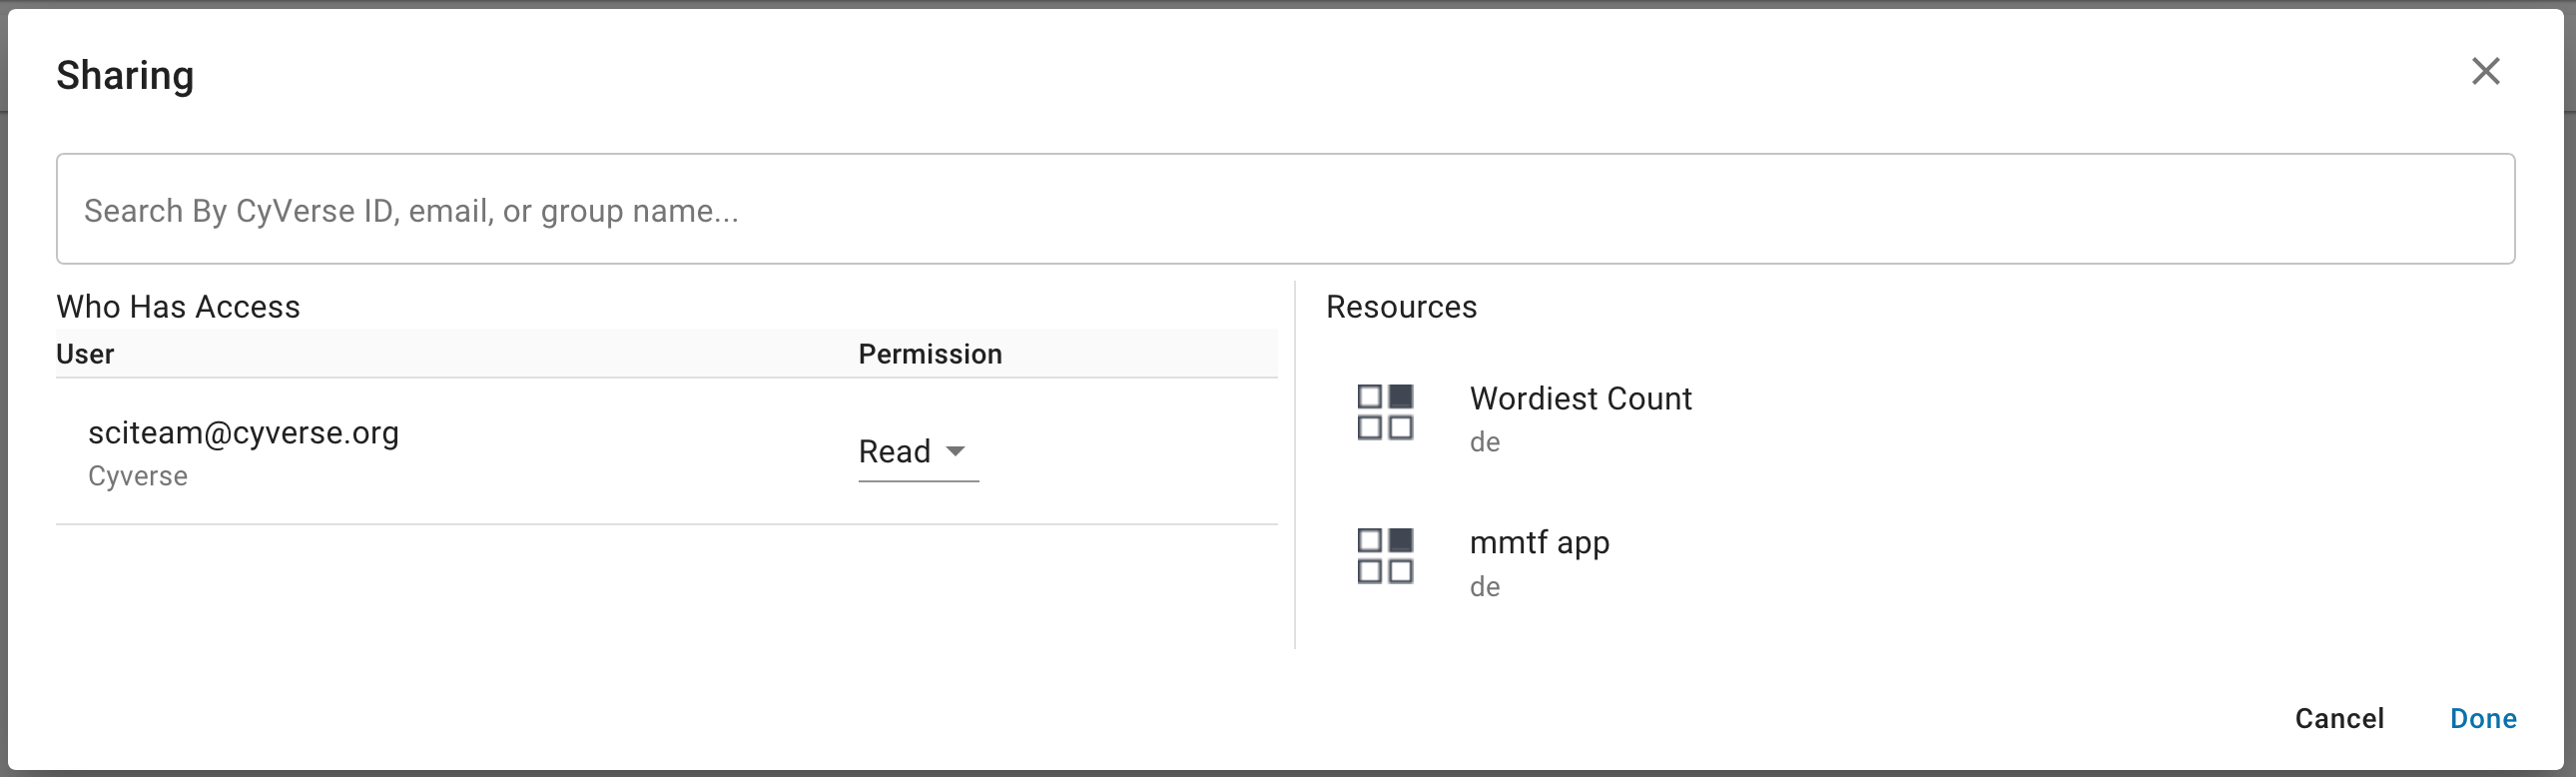
In the Search field, search for the CyVerse user you wish to share with by searching for their CyVerse username or email address.
Next, under “Permission”, choose which permission you want to grant the person you are sharing these apps with.
Once you are finished, click Done to begin sharing. The user(s) will be notified that apps have been shared with them.
Hint
Permissions (based on UNIX permissions) are described in this chart:
Permission level Launch Edit Share Make Public Read X Write X X Own X X X X
Example Discovery Environment Analysis: Multiple sequence alignment with MUSCLE
Example Data
| Input | Description | Example |
|---|---|---|
| Unaligned DNA sequence reads | One or more sequences in FASTA format | DE_sample_plants.fas |
Discovery Environment App(s):
| App name | Version | Description | App link | Notes/other links |
|---|---|---|---|---|
| Muscle | 3.8.31 | Multiple sequence aligner | Muscle 3.8.31 |
If necessary, login to the Discovery Environment.
Click
 Apps from the DE workspace; search for MUSCLE-3.8.31 or
click this link: Muscle 3.8.31.
Apps from the DE workspace; search for MUSCLE-3.8.31 or
click this link: Muscle 3.8.31.Under “Analysis Info”, you can leave the defaults or make any desired notes.
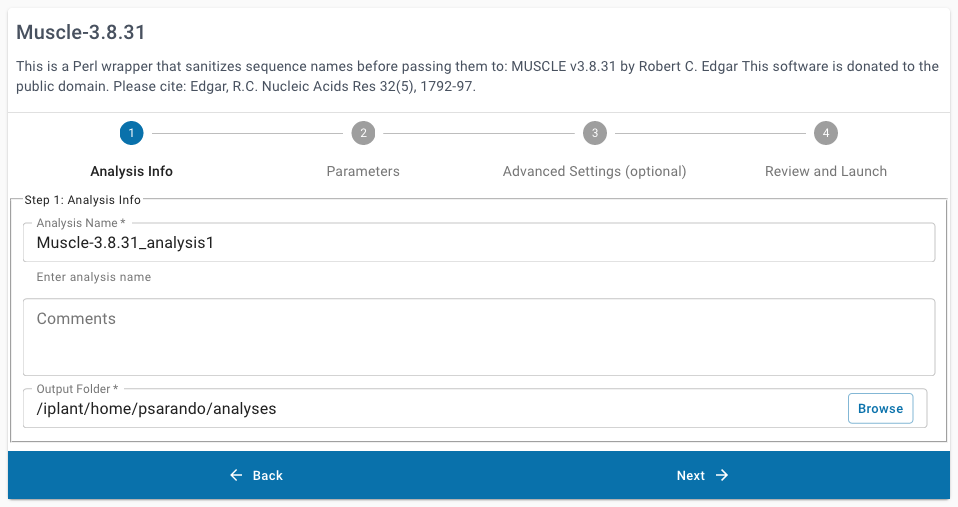
Under “Select Input Data” click Browse, then navigate to and select DE_sample_plants.fas; then click OK.
(Location: Community Data > cyverse_training > platform_guides > discovery_environment > muscle_3_8_31 > 01_muscle_input)

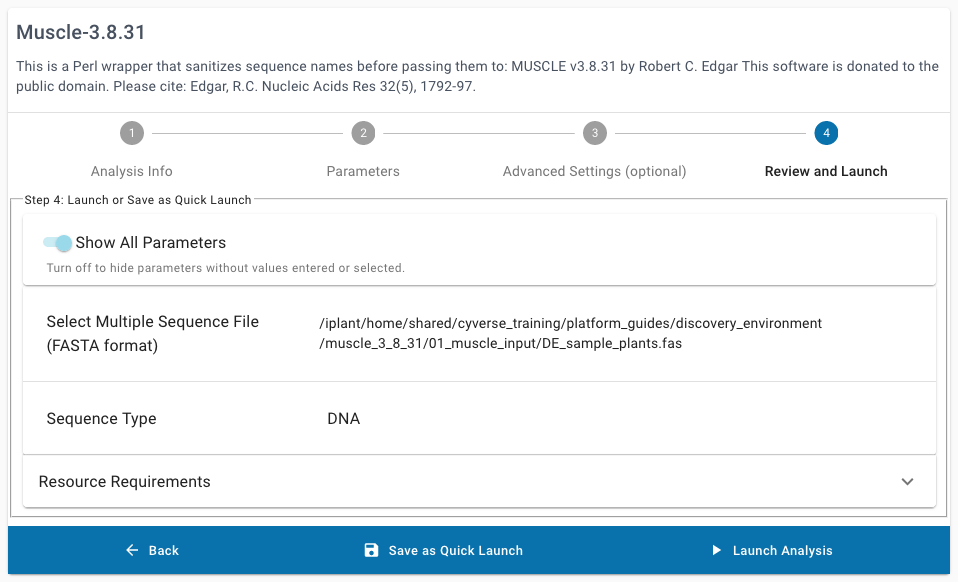
Under “Sequence Type”, select DNA.

Under the optional “Advanced Settings”, leave the default settings. If required, some analyses may be launched with requests for more minimum Resource Requirements, but this may cause those analyses to sit longer in the submission queue until a node matching those minimum requirements becomes available.
Click Launch Analysis
You will receive a notification and be redirected to the Analyses Listing page.
Fix or improve this documentation
- Search for an answer: CyVerse Learning Center
- Ask us for help:
click
 on the lower right corner of the page
 - Report an issue or submit a change: Github Repo
- Send feedback: learning@CyVerse.org